GIFT FRIPPERY WITH AMANDA WHITE // SEED PODS
Do you always visit a park or come back from holiday laden with 'treasures'?
Me too.
So this year gather your seed pods, acorns, pine cones with a sense of purpose. I'm going to share what I did with mine.
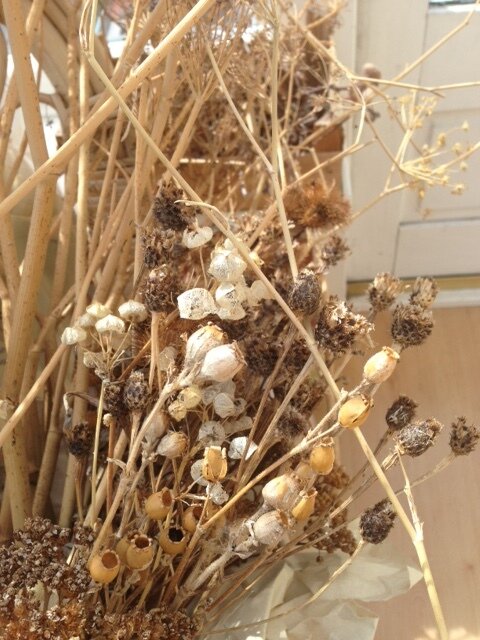
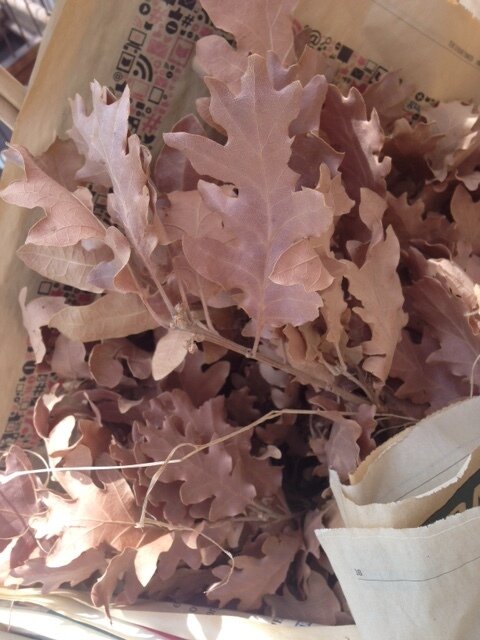
My treasures have actually been stored/ gathering dust in the conservatory for almost a year. Last year on holiday, in France, I found it impossible not to bring back...fennel heads, passiflora, passion fruit, grasses, oak leaves, and acorn cups. All seemed ripe with possibilities at that point and I can't believe it's taken me so long to get creative!
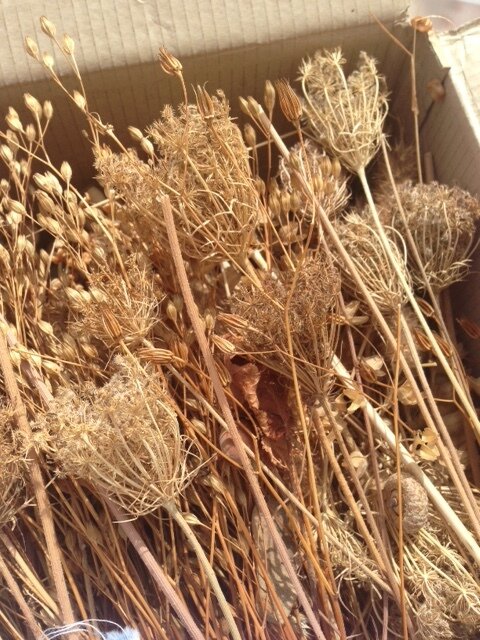
Interestingly they didn't seem any more brittle having lived in the conservatory for a year, than when they were first dried. I dried them fast and furiously in intense sunlight the minute I got back. I laid everything out on the table. I didn't lay the oak leaves out though they dried in their bunch with newspaper wrapped around them. They dried the most beautiful pinky-brown. They had movement to them which I much preferred to unnaturally flat leaves.
I wanted to use my gatherings as decoration but wanted them fresh and white. I was hesitant to use spray paint as I don't believe it's eco-friendly, it smells .....and...I didn't have any! So, I chose to make my own chalk paint, with the things I already had around me.
You can of course buy it, but why would you when it's SO simple to make?
Amanda's Chalk Paint for Dunking Seedpods!
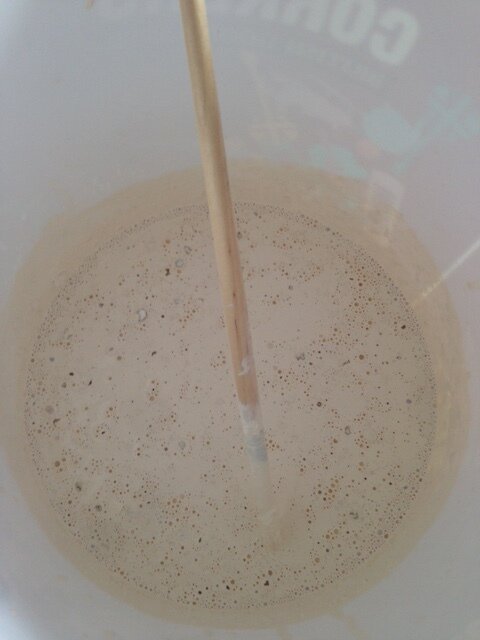
6 cups emulsion ( in chosen colour)
6 cups water
4 cups talcum powder
Bucket
- Mix water and emulsion together and gradually add talc ( you can use plaster of Paris)
- Stir in patiently. These quantities obviously make a more liquid version of chalk paint than I've used previously for painting furniture.
Why use chalk paint? It's easy to make and easy to use. It adheres to wood and natural surfaces without the need for preparation. It clings well so I thought it would be perfect for this project. You should not keep and store it after use though.
Protect your table and select your treasures!
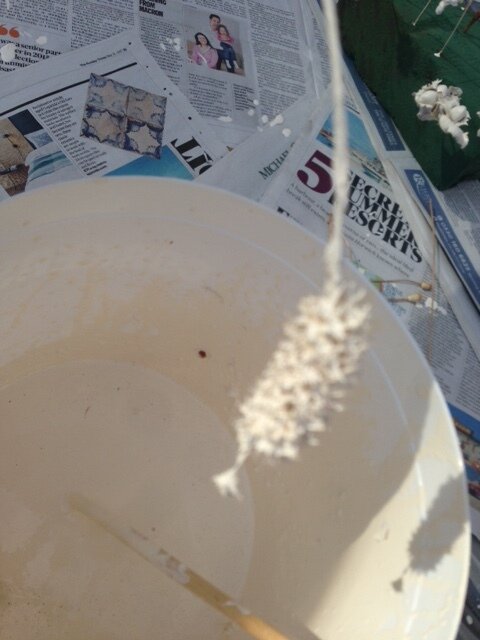
- Keep hold of a tiny part of the e.g. twig and gently dunk it in the paint and swirl it until coated.
- Hold it over the bucket so the initial drops of paint go back into the bucket.
- You can lay on newspaper to dry but I found poking the pieces into an oasis worked well for me.
- Keep going with each piece. Leave overnight to dry.
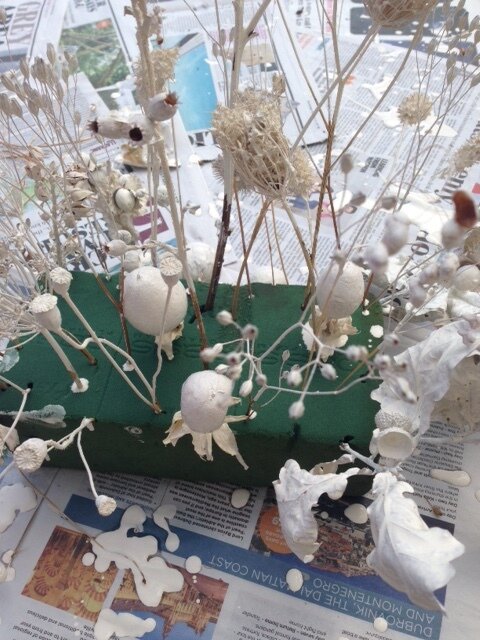
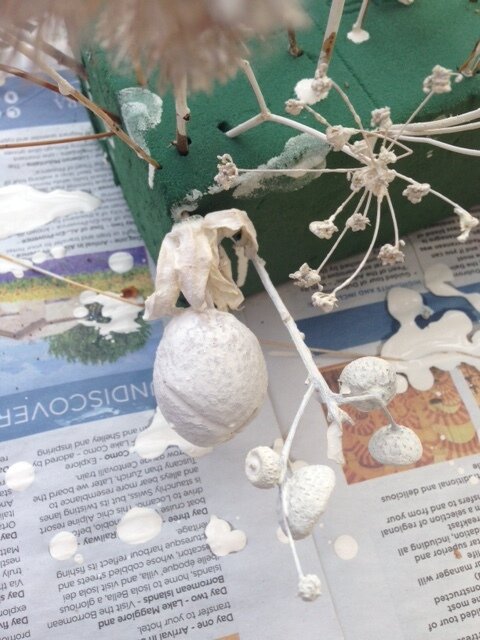


You can use everything as decoration. They will look stunning on a back drop of fresh greenery or on a gift. You could even get yourselves really well prepared for Christmas!
Amanda White is the founder of Gift Frippery. She shares so much more than her gift wrapping services, it is indeed a deep dive into creative mindfulness.
She admits that she can’t walk along a beach without picking up driftwood, shells or more recently, seaweed. In the country, it would seem silly to leave a perfect pine cone behind when she knows it will come in handy at some point. She believes there’s also a beauty in these simple things.
After years as a primary school teacher and part time radio presenter, she has put her own unique twist on gift wrapping with her love of collecting often coming into play with the fripperies.
For more information on Amanda's services and workshops pop over to her website GiftFrippery.co.uk For daily insight into her incredibly fripperies visit her on Instagram | Twitter | Pinterest